Easy Vampire Fudge Recipe Swirl Dessert
Vampire Fudge is a surprisingly simple treat that looks as dramatic as it tastes. I love making this for Halloween parties or any time I want a dessert with a bit of dark flair. The magic isn’t complicated; it comes from how we layer the colors to create a striking blood-red swirl inside a rich, dark chocolate base. It uses just a few main ingredients, making it easy for anyone to whip up. The finished fudge has a smooth, melt-in-your-mouth texture that’s creamy and satisfying. You get a hint of richness from the cream cheese frosting, which acts as the base. It sets up quite fast, so having your pan ready is important.
Ingredients:
- 16oz Cream Cheese Frosting (straight from the tub is fine, no need to soften it first)
- 1 Cup Black Candy Melts
- 1 Cup Red Candy Melts
Getting Started: Preparing Your Workspace
Before you even think about melting candy, it’s important to have everything ready to go. Fudge, especially this kind, sets up fairly quickly once it starts to cool. You’ll want an 8×8 inch baking pan lined with parchment paper. Make sure the parchment paper goes up the sides a bit – this makes it much easier to lift the entire slab of fudge out once it’s firm. Having a spatula or offset spatula ready for spreading is also a good idea. For the candy melts, I recommend having them measured out into separate heatproof bowls. Melting the Candy Melts
Melting the Candy Melts
This is a critical step and needs a bit of care. You can melt candy melts using a microwave or a double boiler. For the microwave method, place one cup of the black candy melts into a microwave-safe bowl. Heat on 50% power for 30-second intervals, stirring well after each interval. Continue until the melts are completely smooth. Be patient; overheating can cause them to seize up. Repeat this process with the red candy melts in a separate bowl. Make sure to use a clean spoon or spatula each time you stir to avoid contaminating the melts.
Vampire Fudge Recipe
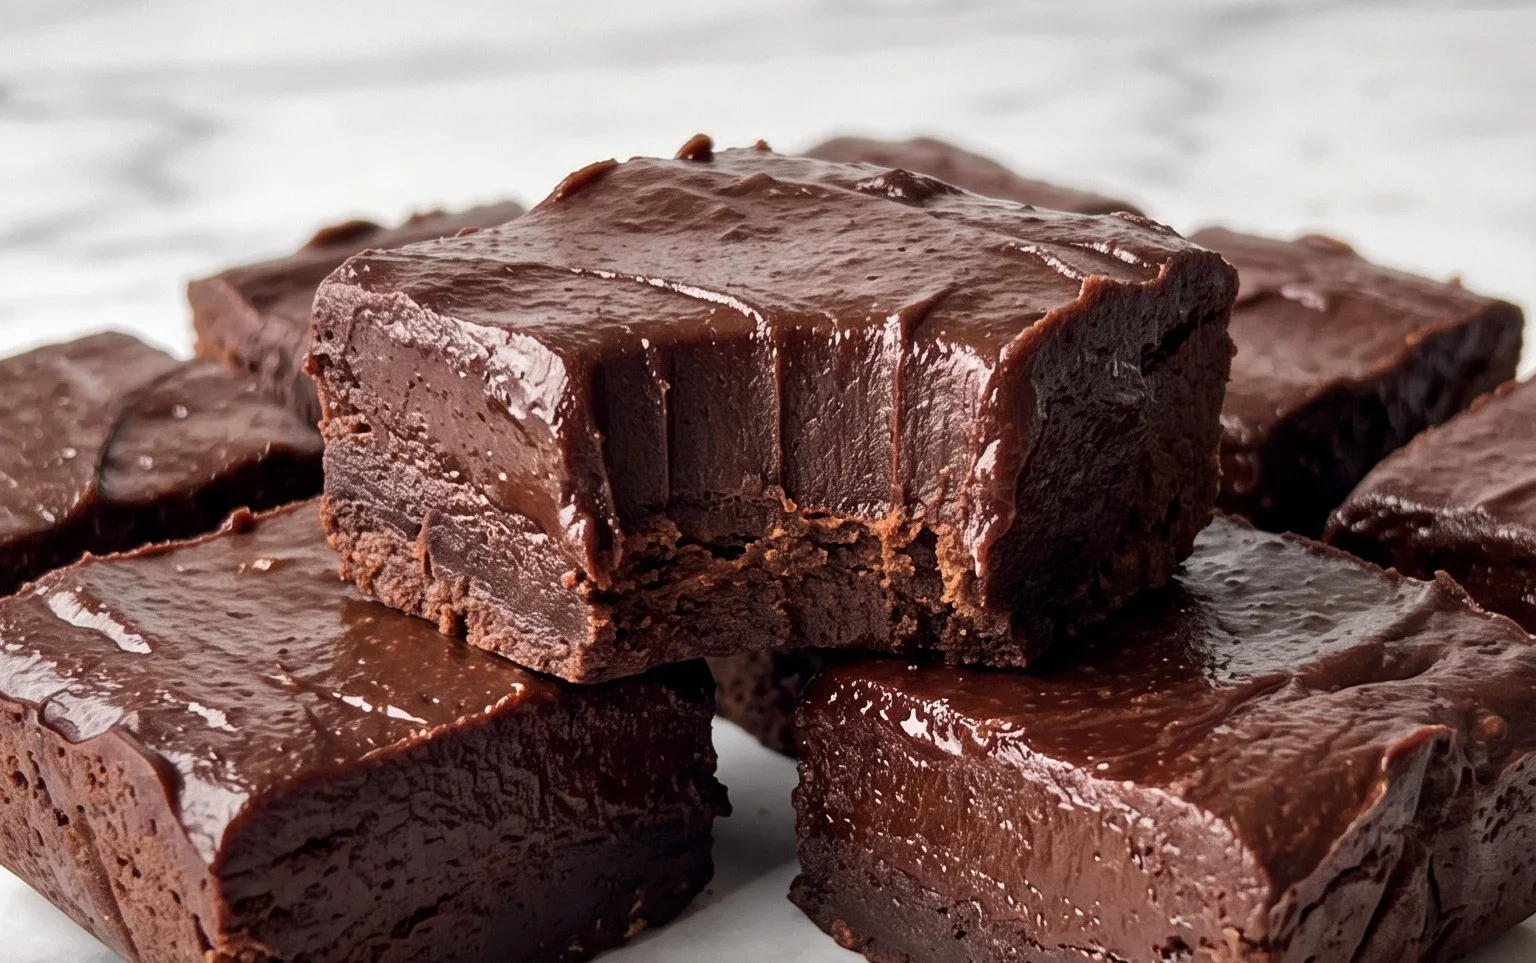
This Vampire Fudge is surprisingly simple to whip up, perfect for those spooky occasions or anytime you crave a sweet treat with a dramatic flair. The magic comes from how we layer the colors to create a blood-red swirl within a dark, rich base. It uses just a few key ingredients, making it an accessible recipe for most home cooks. The finished product has a smooth, melt-in-your-mouth texture with a hint of richness from the cream cheese frosting. I like to make this fudge around Halloween, but honestly, any time you want a little dramatic dessert is a good time for it.
Ingredients:
- 16oz Cream Cheese Frosting (straight from the tub is fine, no need to soften it first)
- 1 Cup Black Candy Melts
- 1 Cup Red Candy Melts
Getting Started: Preparing Your Workspace
Before you even think about melting candy, it’s important to have everything ready to go. Fudge, especially this kind, sets up fairly quickly once it starts to cool. You’ll want an 8×8 inch baking pan lined with parchment paper. Make sure the parchment paper goes up the sides a bit – this makes it much easier to lift the entire slab of fudge out once it’s firm. Having a spatula or offset spatula ready for spreading is also a good idea. For the candy melts, I recommend having them measured out into separate heatproof bowls.
Melting the Candy Melts
This is a critical step and needs a bit of care. You can melt candy melts using a microwave or a double boiler. For the microwave method, place one cup of the black candy melts in a microwave-safe bowl. Heat on 50% power for 30-second intervals, stirring well after each interval. It might look like it’s not melting at first, but be patient. Stirring is key to distributing the heat evenly and preventing scorching. Continue microwaving and stirring until the melts are completely smooth and free of lumps. If you’re using a double boiler, fill the bottom pot with an inch or two of water and bring it to a gentle simmer. Place the black candy melts in the top bowl, ensuring the bottom of the bowl doesn’t touch the water. Stir constantly until smooth. Once the black melts are smooth, remove the bowl from the heat and set aside. Repeat this entire process for the red candy melts, using a separate bowl. It’s crucial that neither batch of candy melts has any water in it, as this will cause them to seize up.
Creating the Black Base Layer
Once your black candy melts are fully melted and smooth, pour them into your prepared 8×8 inch baking pan. Use your spatula to spread the melted candy into an even layer across the bottom of the pan. This will be the base of your vampire fudge. Make sure the layer is consistent in thickness so your fudge sets evenly. You don’t want any thin spots or thick mounds. This layer will harden quickly, so work efficiently.
Adding the Cream Cheese Frosting
Now for the creamy goodness. Spoon the entire 16oz tub of cream cheese frosting directly on top of the hardened black candy melt layer. You don’t need to melt or warm the frosting; it should be at room temperature from the tub. Using your spatula, gently spread the cream cheese frosting over the black candy layer. Again, aim for an even layer. This frosting layer is what gives the fudge its unique texture and acts as a canvas for our red swirl. Try not to overwork the frosting, just spread it as smoothly as you can. If the black candy layer is still a bit soft, the frosting will settle into it nicely.
Creating the Blood Swirl
This is where the “vampire” comes to life. Drizzle the melted red candy melts over the top of the cream cheese frosting layer. Don’t be shy with the drizzles – you want a good amount of red showing. Once you have your red drizzles all over, take a toothpick or the tip of your spatula and gently swirl the red into the white frosting. Make figure-eight motions or simple zig-zag lines. The goal isn’t to completely mix the colors, but to create streaks and swirls that resemble blood. Don’t over-swirl, or you’ll end up with a muddy pink color instead of distinct red and white patterns. A few gentle passes are all you need. This swirling technique is what gives the fudge its signature spooky appearance.
Chilling and Cutting the Fudge
Once you’ve finished swirling, carefully place the pan in the refrigerator. You’ll want to chill it for at least 1-2 hours, or until the fudge is completely firm to the touch. Once it’s firm, use the parchment paper to carefully lift the entire slab of fudge out of the pan. Place it on a cutting board. Use a sharp knife, dipped in hot water and dried, to cut the fudge into small, bite-sized squares. Dipping the knife in hot water and wiping it clean between cuts will give you cleaner edges. This fudge is best stored in an airtight container in the refrigerator, as the cream cheese frosting can make it a little soft at room temperature. Enjoy your deliciously spooky Vampire Fudge!
Conclusion:
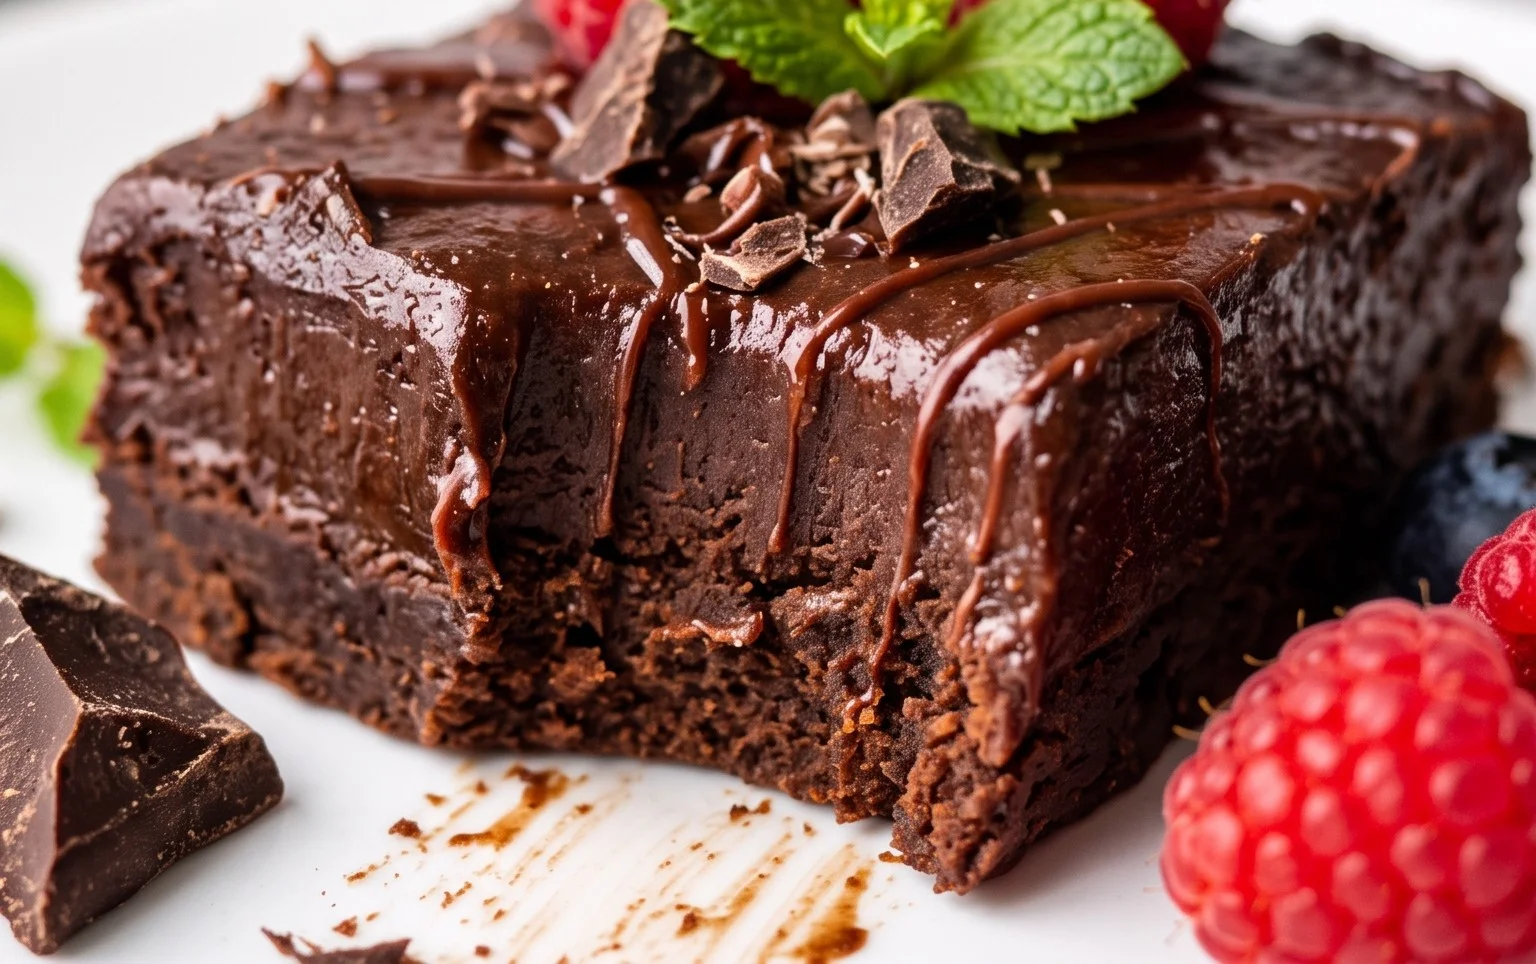
This Vampire Fudge recipe is a real showstopper with its dramatic swirls and delicious, creamy texture. It’s much easier to make than it looks, and the combination of the dark chocolate base with the red swirls is always a hit, especially around spooky holidays. It’s a fun project that delivers a fantastic result every time. Serve this fudge cut into squares at your next Halloween party, or just enjoy a piece with your coffee anytime you need a sweet, decadent treat. The smooth texture and rich flavor make it incredibly satisfying.
Serving Suggestions: Cut into small squares for a party, or larger pieces for a special dessert. It pairs wonderfully with a glass of milk or a dark roast coffee.
Variations: For extra spookiness, you could add a few drops of black food coloring to the dark chocolate base before swirling for an even deeper color. You could also try adding a pinch of edible glitter for a touch of magic.
Frequently Asked Questions:
Can I use chocolate chips instead of candy melts?
It’s best to stick with candy melts for this recipe. Chocolate chips contain different stabilizers and cocoa butter ratios that can make them harder to melt smoothly and set up properly in fudge. Candy melts are designed for melting and coating, so they provide the best texture and ease of use for this Vampire Fudge.
How should I store the fudge?
Store the fudge in an airtight container at room temperature. It should stay fresh for about 1-2 weeks. Avoid storing it in the refrigerator, as the condensation can make the fudge sticky and affect its texture.
Why did my candy melts seize up?
Candy melts can seize up if they get too hot or if even a tiny amount of water or moisture gets into them. When melting in the microwave, use short intervals at reduced power and stir thoroughly. If using a double boiler, ensure no steam or water splashes into the melts. If they do seize, you might be able to save them by stirring in a teaspoon of vegetable shortening or oil, but it’s best to melt them carefully to avoid this.
Vampire Fudge Recipe
A spooky and delicious fudge with a vampire-themed color combination.
Ingredients
-
16 oz Cream Cheese Frosting
-
1 Cup Black Candy Melts
-
1 Cup Red Candy Melts
-
1/4 cup evaporated milk
-
1 teaspoon vanilla extract
-
Pinch of salt
Instructions
-
Step 1
Line an 8×8 inch baking pan with parchment paper, leaving an overhang on the sides for easy removal. -
Step 2
In a microwave-safe bowl, melt the black candy melts according to package directions, stirring until smooth. -
Step 3
In a separate microwave-safe bowl, melt the red candy melts according to package directions, stirring until smooth. -
Step 4
In a large microwave-safe bowl, combine the cream cheese frosting, evaporated milk, vanilla extract, and salt. Heat for 30-second intervals, stirring well after each, until the mixture is warm and smooth. -
Step 5
Pour the melted black candy melts into the warm cream cheese mixture and stir until fully combined and a dark, uniform color is achieved. -
Step 6
Pour the black fudge mixture into the prepared baking pan and spread evenly. -
Step 7
Drizzle the melted red candy melts over the black fudge in a swirling pattern to create a ‘bloody’ effect. -
Step 8
Use a toothpick or skewer to gently swirl the red into the black for a marbled appearance, mimicking a vampire theme. -
Step 9
Refrigerate for at least 2 hours, or until firm. -
Step 10
Lift the fudge out of the pan using the parchment paper overhang and cut into squares.
Important Information
Nutrition Facts (Per Serving)
It is important to consider this information as approximate and not to use it as definitive health advice.
Allergy Information
Please check ingredients for potential allergens and consult a health professional if in doubt.