DIY Caramel Apples Bar Fun Party Idea
DIY Caramel Apples Bar setups are a blast, especially when fall rolls around. They take a classic treat and turn it into a full-on activity. I remember setting one up for a neighborhood get-together and seeing how excited everyone got picking their own toppings. It’s a great way to get kids involved in the kitchen without too much mess, and honestly, adults love customizing their own too. You get the satisfying crunch of a fresh apple, the rich sweetness of caramel, and then all the fun textures and flavors from the dips and toppings. It’s not just about eating a caramel apple; it’s about the creation process and making it exactly how you want it. This DIY Caramel Apples Bar is perfect for birthday parties, Halloween festivities, or even just a cozy weekend project.
DIY Caramel Apples Bar
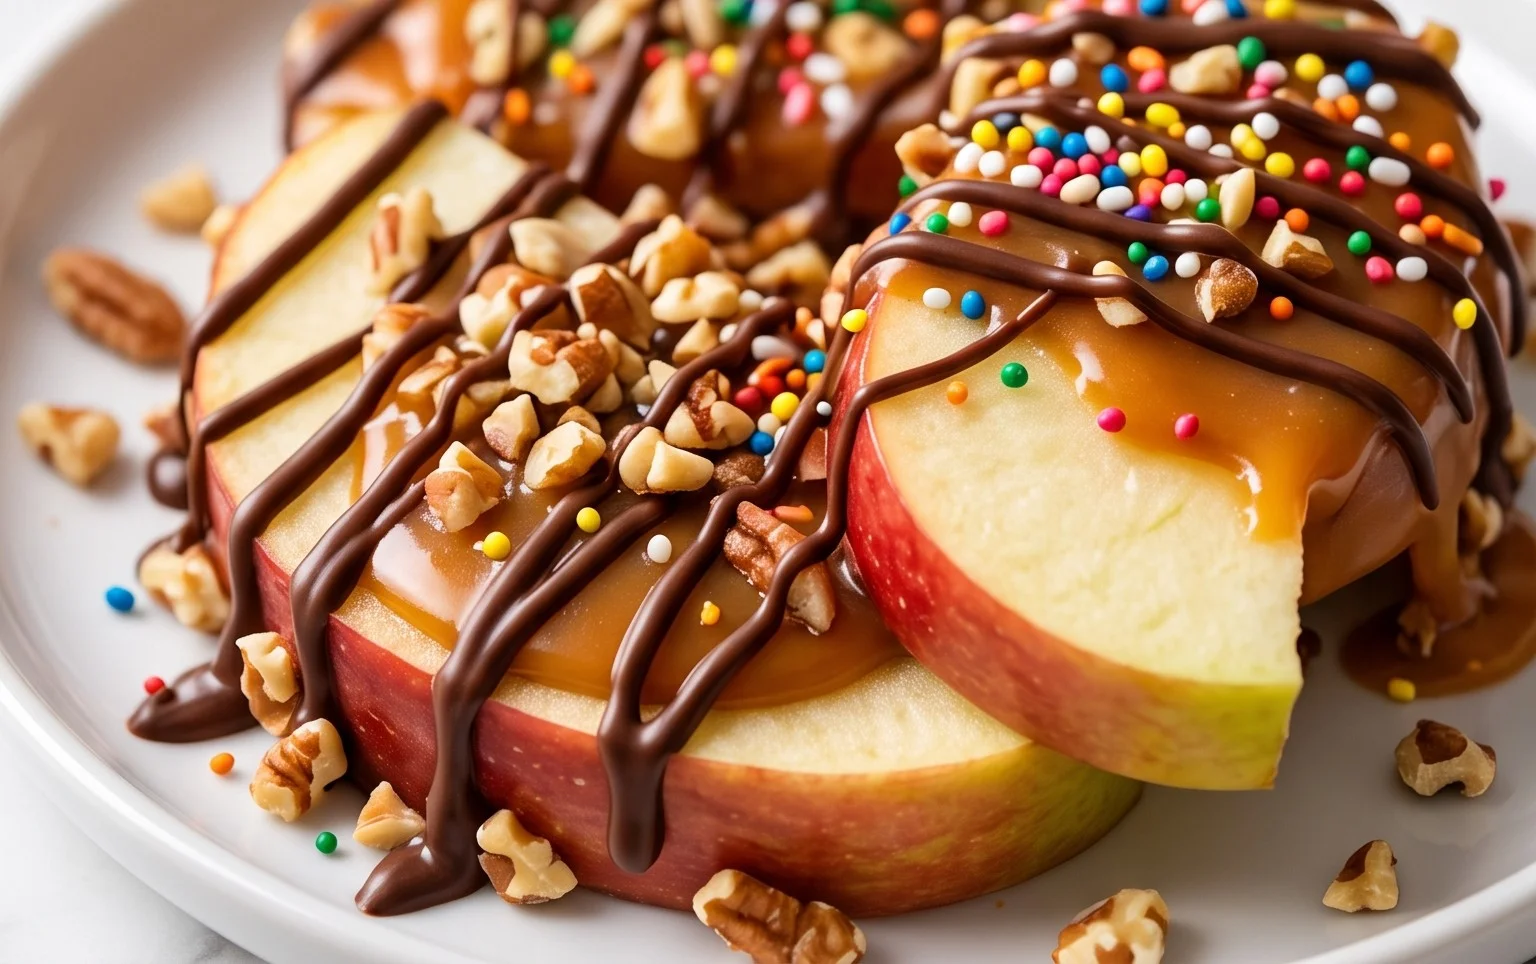
Caramel apples are a classic fall treat, but they become an interactive experience when you set up a DIY bar. This is perfect for parties, a fun family activity, or just a special weekend project. We’re going to make it easy by using store-bought caramel and a few delicious dips and toppings. The beauty of this is that everyone gets to customize their apple exactly how they like it.
Ingredients:
- Apples: 6-8 large Granny Smith or Honey Crisp apples. Granny Smith apples are tart and firm, which balances the sweetness of the caramel beautifully. Honey Crisp apples are naturally sweet and have a satisfying crunch. Make sure they are all about the same size so they are easy to coat.
- Sticks: 6-8 sturdy lollipop sticks or wooden skewers. If using skewers, make sure they are sharp enough to pierce the apple easily.
- Dips:
- 1 bag (about 11-14 ounces) milk chocolate caramel melts, or your favorite brand of caramel candies. You’ll need to melt these according to package directions.
- 1 bag (about 11-14 ounces) white chocolate caramel melts, or use good quality white chocolate chips.
- 1 package (about 6-8 ounces) Reese’s Peanut Butter Cups. These will need to be unwrapped and carefully melted.
- Toppings:
- Heath Toffee Bits (about 1 cup). These provide a wonderful crunch and toffee flavor.
- Crushed Pretzels (about 1 cup). Salty and crunchy, pretzels offer a great contrast to the sweet caramel.
- Crushed Pecans (about 1 cup). Toasted pecans add a nutty depth.
- Mini Marshmallows (about 1 cup). These add a chewy texture and classic sweetness.
- Mini M&Ms (about 1 cup). For a pop of color and a familiar chocolatey crunch.
- Optional: Parchment paper or wax paper for setting the apples.
Instructions:
1. Prepare the Apples
Start by thoroughly washing and drying your apples. It’s really important to get them completely dry. Any moisture can prevent the caramel from sticking properly, and we don’t want any sad, sliding caramel. Remove any stickers. Then, firmly insert a lollipop stick or skewer into the stem end of each apple, pushing it about halfway into the apple. Twist it gently as you push if it feels stuck. This will be your handle for dipping and decorating.
2. Melt the Dips
You’ll want to melt your dips separately. For the caramel candies and chocolate melts, follow the package instructions, which usually involve microwaving in short intervals, stirring frequently, until smooth. If using Reese’s Peanut Butter Cups, unwrap them and melt them in a microwave-safe bowl. Again, use short bursts of power (30 seconds), stirring well in between, until you achieve a smooth, pourable consistency. You might need to add a tiny bit of vegetable oil (about 1 teaspoon) to the peanut butter cup mixture if it seems too thick to coat the apples easily. Aim for a consistency that’s thick enough to cling to the apple but thin enough to spread. Keep the melted dips warm while you work; a double boiler is ideal for this, or you can carefully reheat them in the microwave as needed.
3. Dip and Coat the Apples
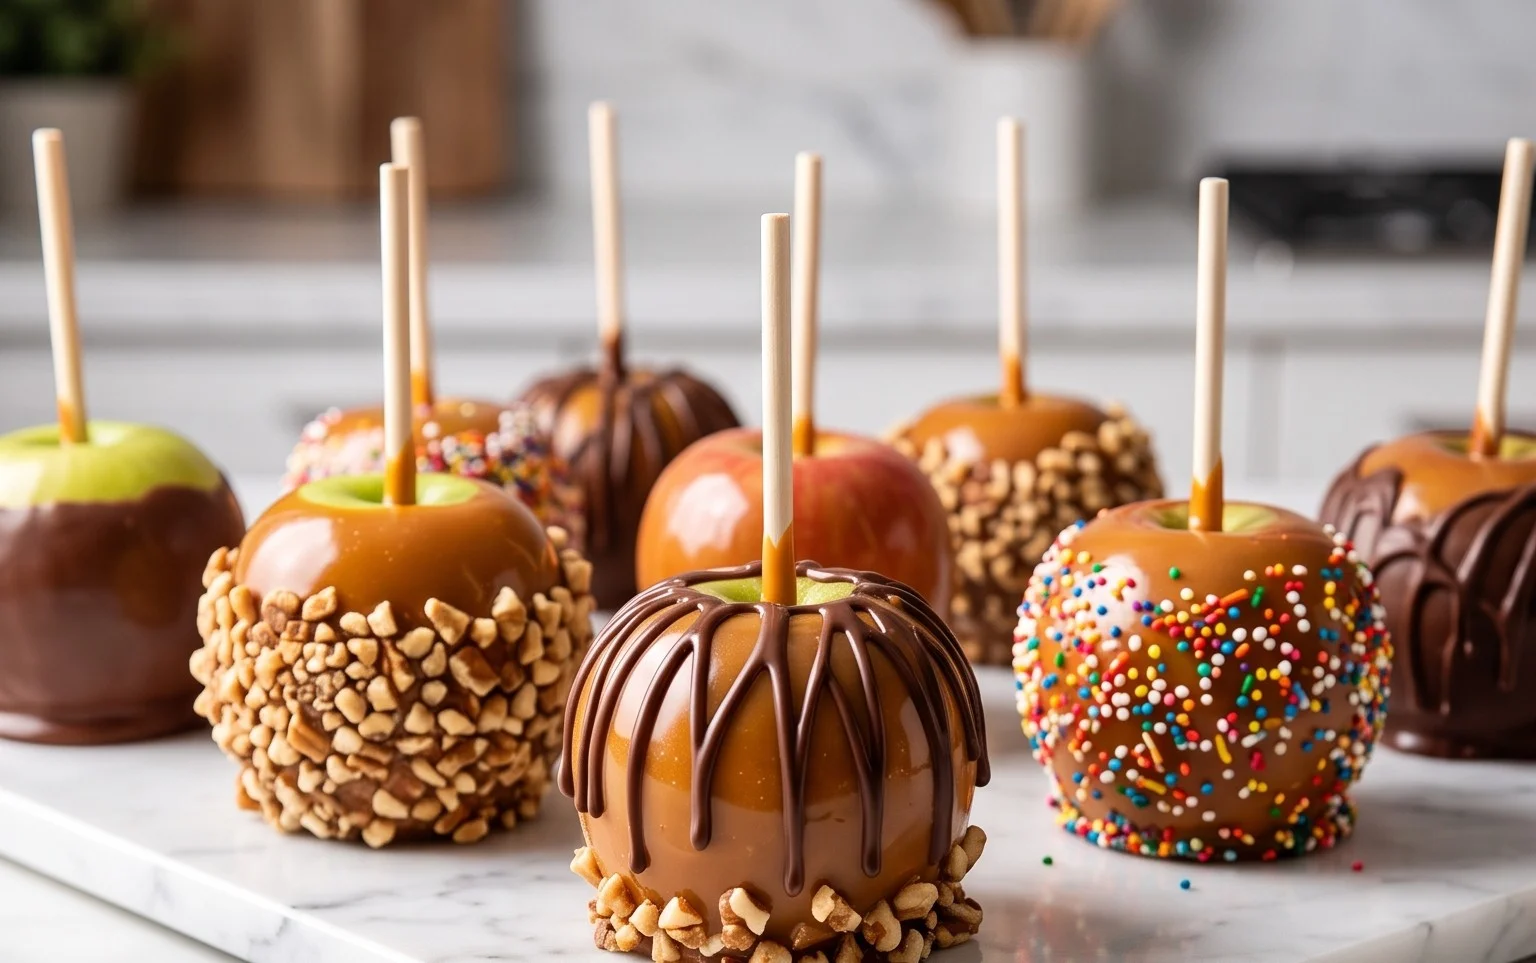
This is where the magic starts. Holding an apple by its stick, carefully tilt the bowl of melted caramel or dip and swirl the apple until it’s about two-thirds to three-quarters coated. Let any excess drip back into the bowl. Work quickly but don’t rush yourself. If the caramel is too thick, you can warm it up slightly. For a more even coat, you can gently rotate the apple as you dip. If you want a fully coated apple, you can dip the entire thing, but this can be a bit trickier. For a marbled effect, you can dip in one color, let it set slightly, and then drizzle or dip a portion in another color.
4. Add Toppings
Immediately after dipping and coating an apple, while the caramel is still wet and sticky, roll or sprinkle your chosen toppings onto the coated part of the apple. You can pile them on or be more selective. For instance, you might roll the bottom half of a caramel-dipped apple in toffee bits and then drizzle the top with white chocolate and sprinkle with M&Ms. Or, dip an apple in white chocolate, then immediately sprinkle it with crushed pretzels and mini marshmallows. The toppings will stick best when the dip is still warm and soft. Place the decorated apples on parchment paper or wax paper to set.
5. Let Them Set
Allow the caramel apples to set completely. This usually takes about 15-30 minutes at room temperature, or you can speed things up by placing them in the refrigerator for about 10-15 minutes. Make sure they are fully firm before handling them further or stacking them, if you need to store them. Once set, they are ready to be enjoyed! They are best eaten within a day or two for optimal texture and freshness. You can store them in an airtight container in the refrigerator. If you plan to make them ahead for a party, it’s a good idea to keep them in the fridge and let them come closer to room temperature for about 20-30 minutes before serving so the caramel isn’t too hard.
This DIY caramel apple bar is a fantastic way to get creative in the kitchen and enjoy a delicious, personalized treat. Have fun experimenting with different combinations!
Conclusion:
Setting up a DIY Caramel Apples Bar is such a fun and rewarding way to enjoy a classic fall treat. It’s interactive, customizable, and guarantees smiles all around, whether you’re hosting a party or just having a special family activity. The combination of crisp apples, gooey caramel, and endless topping possibilities makes for a memorable dessert experience. Don’t be afraid to get creative with your toppings – think sprinkles, cookie crumbles, or even mini chocolate chips!
For serving, make sure you have plenty of napkins ready. These can be made a few hours ahead of time, but it’s best to make them close to when you plan to serve them so the apples stay fresh and the caramel doesn’t get too hard. Store any leftover dipped apples in the refrigerator, perhaps wrapped loosely in parchment paper.
FAQ: How do I keep the apples from browning?
Wash your apples thoroughly and dry them completely. Some people swear by dipping them quickly in lemon juice or a diluted vinegar solution before adding the caramel, but make sure to dry them again. Using apples that are already chilled also helps.
FAQ: What if the caramel is too thick or too thin?
For chocolate melts or caramels, follow the package directions for melting. If it’s too thick, add a tiny bit of vegetable oil or shortening (about 1 teaspoon at a time) and stir until smooth. If it’s too thin, let it sit for a few minutes to thicken up a bit. You can also try adding a little more of the melting candies or chips.
FAQ: Can I make these ahead of time?
Yes, you can dip the apples and add some basic toppings a few hours in advance. Store them upright in a container in the refrigerator. However, for the best texture and appearance, it’s ideal to add more delicate or numerous toppings just before serving. The apples are freshest when enjoyed the same day.
DIY Caramel Apples Bar
Create your own delicious caramel apples with a variety of tempting dips and toppings. A fun and interactive dessert experience!
Ingredients
-
12 medium Granny Smith apples
-
12 medium Honey Crisp apples
-
1 bag (14 oz) milk chocolate caramel candies, melted
-
1 bag (14 oz) white chocolate caramel candies, melted
-
1 cup melted Reese’s peanut butter cups
-
1/2 cup Heath toffee bits
-
1/2 cup crushed pretzels
-
1/2 cup crushed pecans
-
1/2 cup mini marshmallows
-
1/2 cup mini M&Ms
-
12 popsicle sticks
Instructions
-
Step 1
Wash and thoroughly dry the apples. Insert a popsicle stick firmly into the stem end of each apple. -
Step 2
Prepare your dipping stations. Have the melted caramel candies, white chocolate sauce, and melted Reese’s peanut butter cups in separate bowls. -
Step 3
Dip each apple into your chosen dip, tilting and turning to coat evenly. Let any excess drip off. -
Step 4
Immediately after dipping, roll the caramel apple in your desired toppings or sprinkle them on top. Ensure toppings adhere well. -
Step 5
Place the coated apples on parchment paper or a silicone baking mat to set. Allow them to cool and harden completely before serving. -
Step 6
Arrange the finished caramel apples on a platter for your DIY Caramel Apples Bar.
Important Information
Nutrition Facts (Per Serving)
It is important to consider this information as approximate and not to use it as definitive health advice.
Allergy Information
Please check ingredients for potential allergens and consult a health professional if in doubt.